Phoenix アプリケーションを Heroku にデプロイする
Phoenix アプリケーションを Heroku にデプロイしてみた。
今回作成したアプリケーションは GitHub で公開しているので、このレポジトリを Heroku にデプロイすれば動かすことも可能である。
前提条件 #
- Elarng 17.5
- Elixir v1.0.3
- Phoenix v0.13.1
- Heroku Toolbelt 3.37.1
Phoenix アプリケーションの作成 #
Up And Running · Phoenix を参考にして Phoenix アプリケーションを作成した。
$ mix local.hex
$ mix archive.install https://github.com/phoenixframework/phoenix/releases/download/v0.13.1/phoenix_new-0.13.1.ez
$ mix phoenix.new phoenix_on_heroku
この状態で Heroku にデプロイしても動作しないので、下記のファイルを作成または修正する必要がある。
Procfileの作成elixir_buildpack.configの作成package.jsonの修正config/prod.secret.exsの修正.gitignoreの修正
Procfile の作成 #
web: yes | mix compile.protocols && elixir -pa _build/prod/consolidated -S mix phoenix.server
elixir_buildpack.config の作成 #
# Erlang version
erlang_version=17.5

# Elixir version
elixir_version=1.0.4

# Always rebuild from scratch on every deploy?
always_rebuild=false

# Export heroku config vars
config_vars_to_export=(DATABASE_URL)
package.json の修正 #
npm install で brunch build --production が実行されるようにする。
{
  "repository": {
  },
  "dependencies": {
    "brunch": "^1.8.1",
    "babel-brunch": "^5.1.1",
    "clean-css-brunch": ">= 1.0 < 1.8",
    "css-brunch": ">= 1.0 < 1.8",
    "javascript-brunch": ">= 1.0 < 1.8",
    "sass-brunch": "^1.8.10",
    "uglify-js-brunch": ">= 1.0 < 1.8"
  },
  "scripts": {
    "postinstall": "brunch build --production"
  }
}
config/prod.secret.exs の修正 #
secret_key_base と DB への接続情報を環境変数から取得するように修正する。
use Mix.Config

# In this file, we keep production configuration that
# you likely want to automate and keep it away from
# your version control system.
config :phoenix_on_heroku, PhoenixOnHeroku.Endpoint,
  secret_key_base: System.get_env("SECRET_KEY_BASE")

# Configure your database
config :phoenix_on_heroku, PhoenixOnHeroku.Repo,
  adapter: Ecto.Adapters.Postgres,
  url: System.get_env("DATABASE_URL"),
  size: 20 # The amount of database connections in the pool
.gitignore の修正 #
config/prod.secret.exs がコミットされるように修正する。
# Mix artifacts
/_build
/deps
/*.ez

# Generate on crash by the VM
erl_crash.dump

# Static artifacts
/node_modules

# Since we are building js and css from web/static,
# we ignore priv/static/{css,js}. You may want to
# comment this depending on your deployment strategy.
/priv/static/css
/priv/static/js

# The config/prod.secret.exs file by default contains sensitive
# data and you should not commit it into version control.
#
# Alternatively, you may comment the line below and commit the
# secrets file as long as you replace its contents by environment
# variables.
# /config/prod.secret.exs
Heroku へのデプロイ #
アプリケーションの作成 #
$ git init
$ heroku create
ビルドパックの設定 #
下記のビルドパックが必要になる。
- [https://github.com/HashNuke/heroku-buildpack-elixir:title]
- [https://github.com/heroku/heroku-buildpack-nodejs:title]
複数のビルドパックを設定するためには GitHub - ddollar/heroku-buildpack-multi: DEPRECATED: Composable buildpacks を使う必要があったらしいが、最近の Heroku Toolbelt では下記のように設定すれば良い。
$ heroku buildpacks:set https://github.com/HashNuke/heroku-buildpack-elixir.git
$ heroku buildpacks:add --index 1 https://github.com/heroku/heroku-buildpack-nodejs.git
環境変数の設定 #
$ heroku config:set MIX_ENV=prod
$ heroku config:set SECRET_KEY_BASE=`ruby -e "require 'securerandom'; puts SecureRandom.hex(40)"`
Heroku Postgres の有効化 #
$ heroku addons:create heroku-postgresql:hobby-dev
デプロイの実行 #
$ git add .
$ git commit -am "initial commit"
$ git push heroku master
確認 #
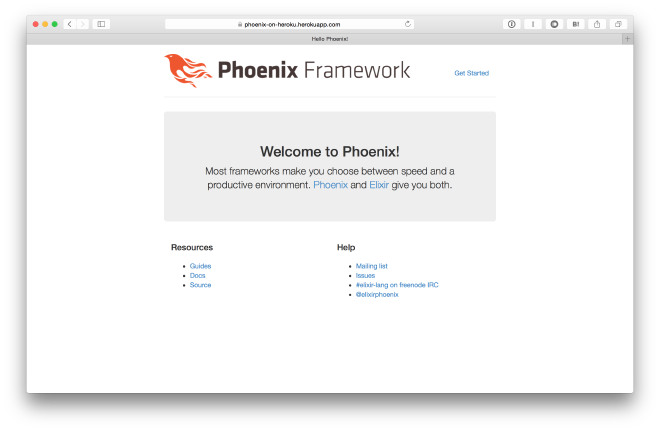
https://<app name>.herokuapp.com にアクセスして、下記の画面が表示されることを確認する。
